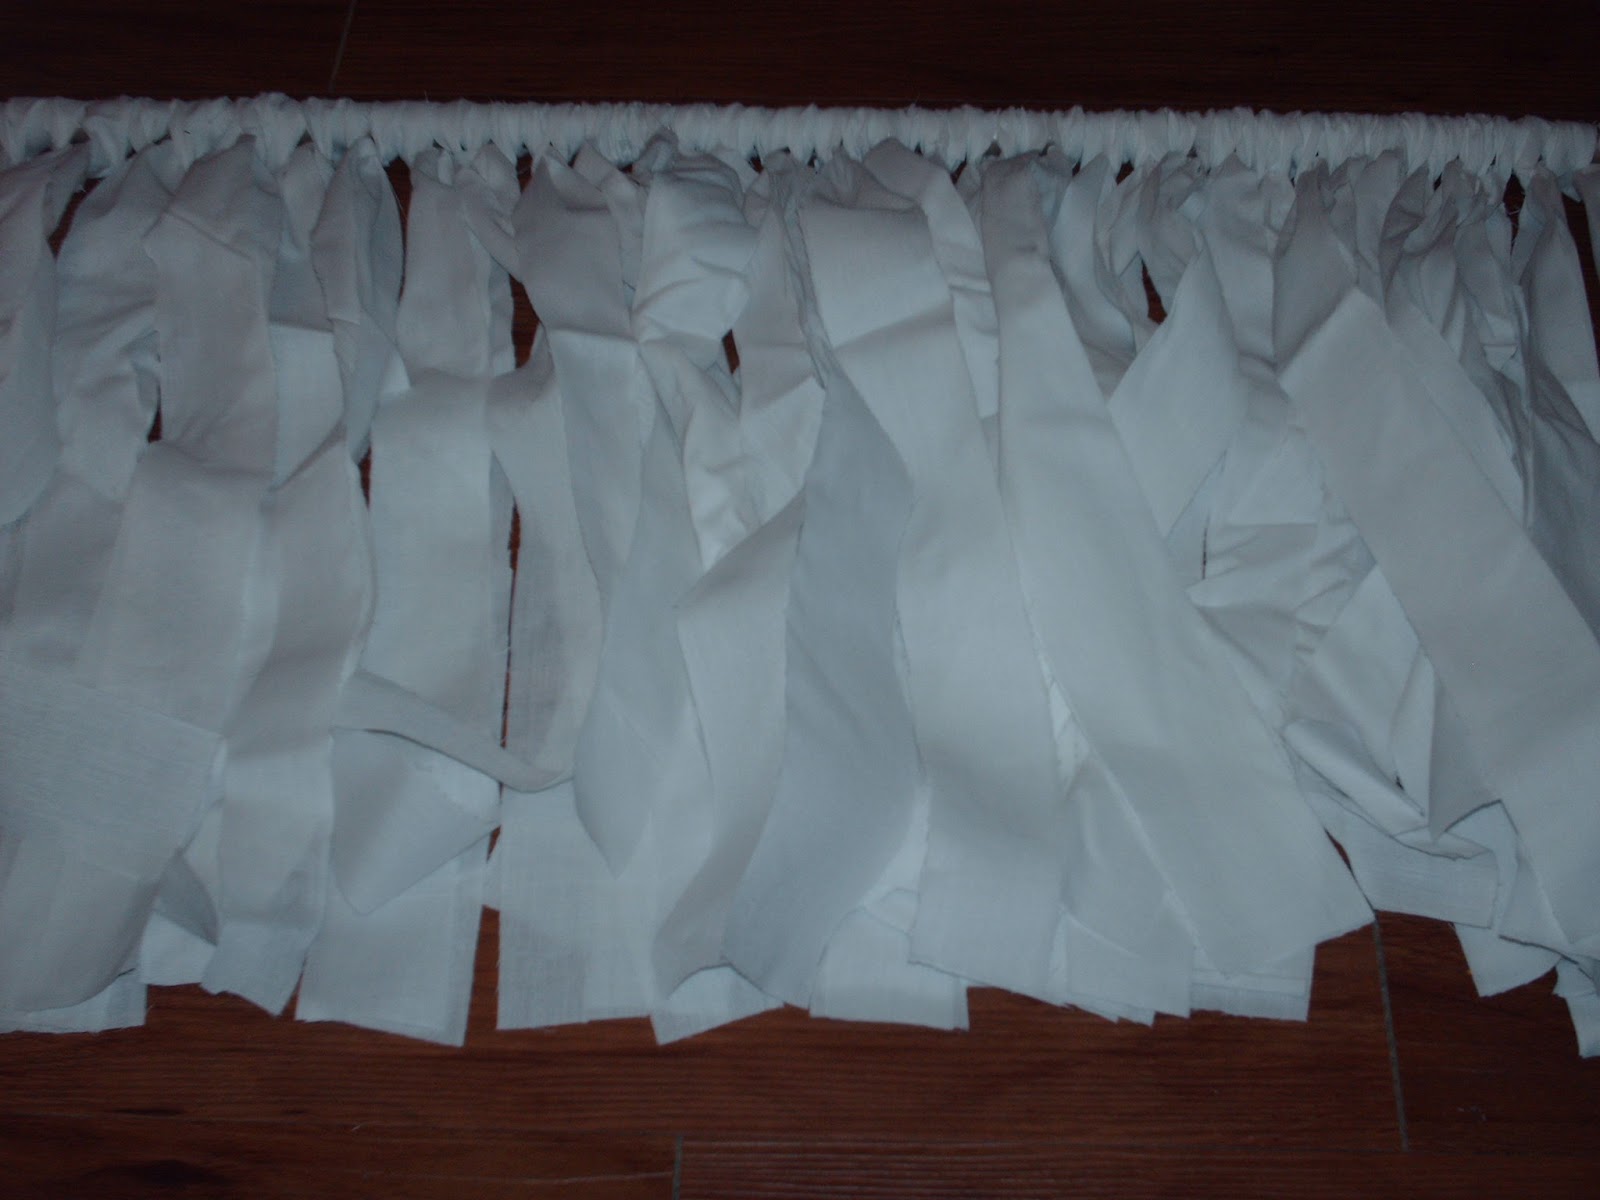
I think we all have those projects that we intend to do, but slip further and further down the timeline. For me, one of those projects has been the window treatments in the girls' room...which started as just my 7 year old's room over three years ago. I bought the curtain rods when we were building the house and have been trying to decide what to do in there ever since.
Finally, while browsing the other day, I saw pictures on several blogs and sites of these cute valances and thought, "I could do that!" I got on a huge sewing kick a while back and have a TON fabric sitting around the house for when I pick it back up again. That is kind of what I do with hobbies. I pick them up and set them down and sort of rotate around to the different hobbies as I get bored with them. ANYWAY...enough about that...I had this fabric that I got at Walmart on clearance when the fabric section down-sized for $1 per yard. It has two tones of lavendar flowers on a white background. My girls' room is Sherwin Williams Meander Blue and is accented with lavendar and lime bedding and decor. One day I will get around to showing you the whole room....but not today.
What you will need:
1 curtain rod per window
1 yard white fabric per window
1 yard printed fabric per window
Scissors
I just used a quilting grade cotton fabric for my window valances. I think they turned out great. If you wanted to make sure that there was less fraying, you could always buy a heavier fabric. Drapery grade fabrics would probably work well, but would cost you considerably more. You can also do this all in printed or all in a solid fabric. I just listed the two different ones because that is what I used.
(in all honesty though...I couldn't find my white fabric, so I used white pillowcases leftover from pillowcase dress liners)
Ok, so now that you have your supplies gathered, here is what you do:
Begin by laying out your fabric. I folded mine in half so that I would have less cutting to do and be able to comfortably do the project sitting on the floor of the living room rather than at a table. I am pretty much a floor dweller.
Cut your fabric into strips 1 1/2-2" wide by 30" long. This will result in valances which hang around 14-15 inches long. Of course, you can adjust this to whatever length you choose for your windows. Just figure that however long your cut your strips, your valance will hang a little less than half the length.
Once you have cut all of your fabric strips, you will begin with your white strips. Make a loop with the center of the strip, put the loop behind the curtain rod, then slip the loose ends up through the loop and pull taught. Continue making knots in this fashion until you have tied all of the white strips onto your curtain rod.
Now you will begin with your patterned strips. Start on the outside of the first white knot. Tie a purple strip between each and every white knot, letting the fabric overlap. Continue until you have tied all of the patterned strips onto the rod over the white strips.
Now, if you haven't already installed the curtain rod hooks, you are going to need to do that. If you have, then you are ready to hang up your creation. Hang the rods in the rod hooks and adjust the knots on the rod to fit your taste.
Tada! Great job. Sit back and admire your awesome work!
Did you do this project at your house? Do you have another idea for no sew curtains? Tell me about it in the comments. I would love to hear from you!