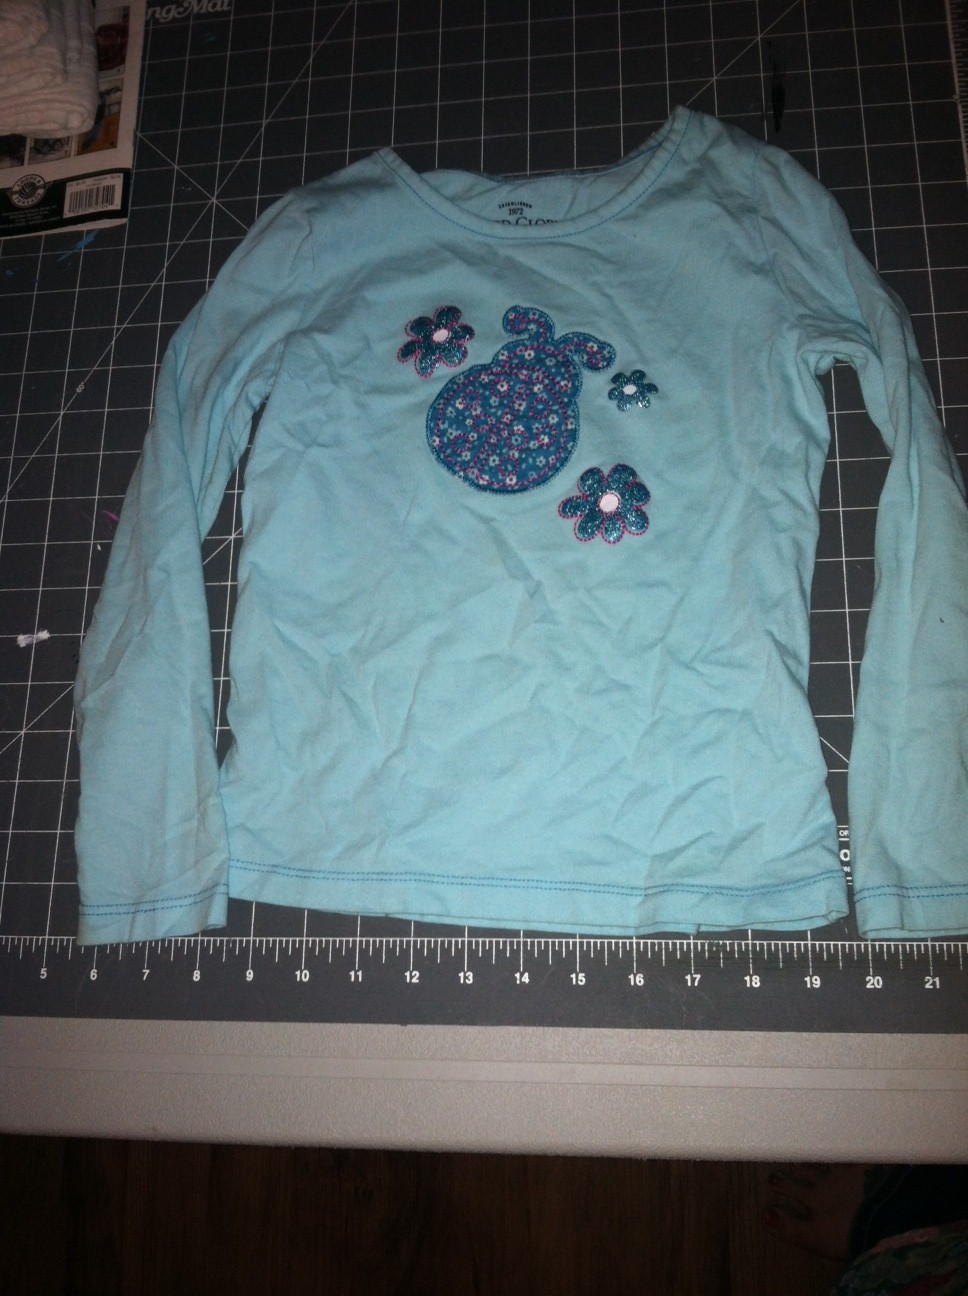
Twice a year at my house, we go through everything, purge, and donate things we no longer need to charity. Normally this goes off without a hitch. This spring, however, my daughter had a few shirts that she just didn't want to let go of. We went round and round about these shirts. Finally I just decided to leave it alone. She had to go to school sometime, so I decided I would just sneak them out after she had forgotten about them.
While I was waiting ever so patiently for Laney to forget the shirts, I remembered seeing several things online about using t-shirts to make totes. When she went to sleep Sunday night, I decided to get to work. I sneaked into her room under cover of night, and confiscated the shirts in question, then I made two very cute, very different little bags.
The first tote took less than five minutes, and is a simple tote for library books and such. The other is a little more purse-like to carry any summer goodies as we are out and about.
What you will need:
One t-shirt (adult or child)
Sharp Scissors
Sewing machine
coordinating (or not) thread
Here we go!
TOTE ONE: Just a simple tote
Start out by laying out your t-shirt.
Cut the shirt sleeves off. Then cut to scoop the neck down further.
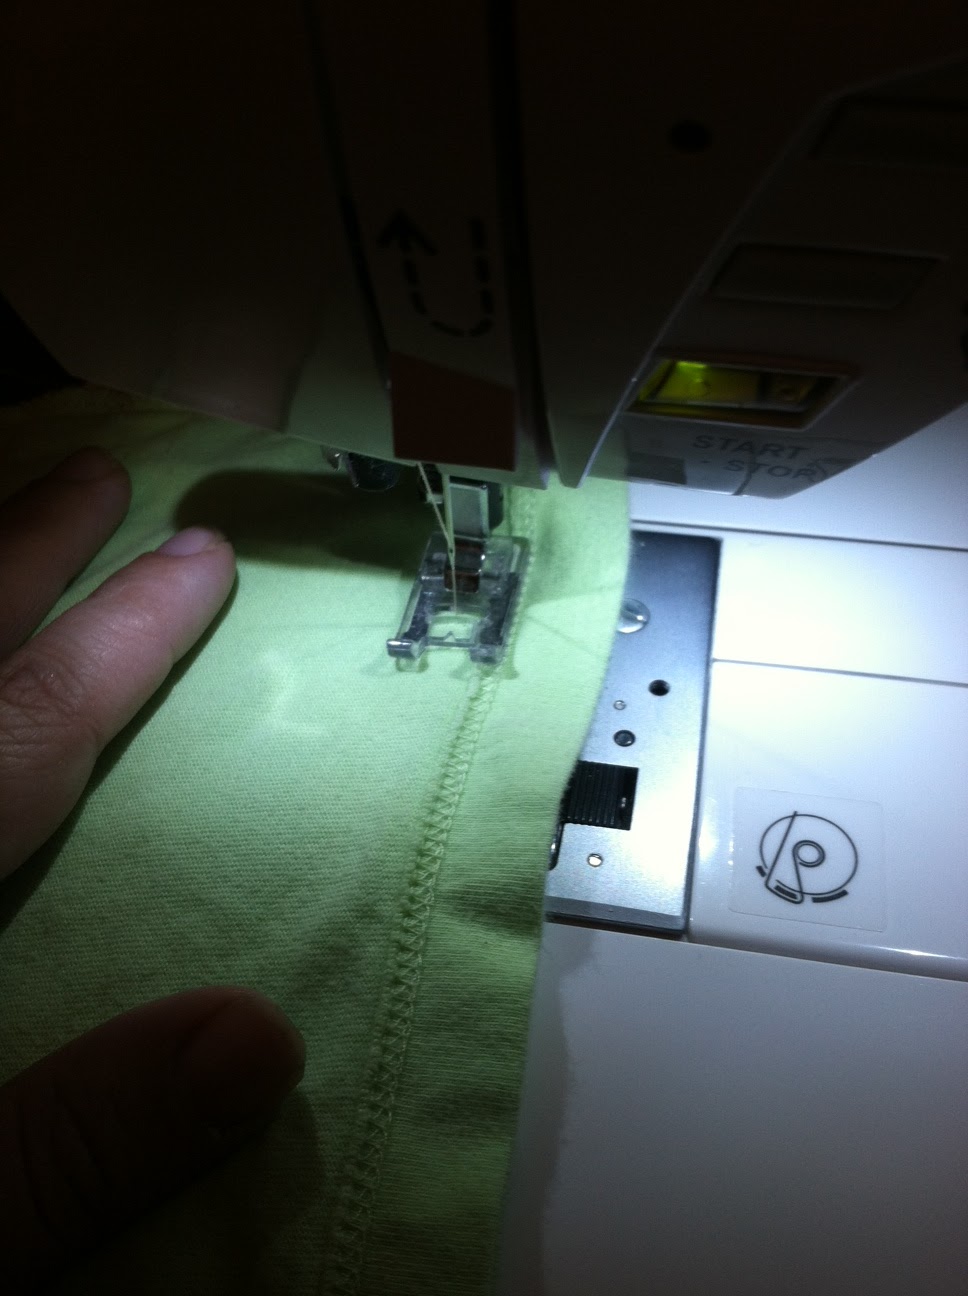
Now turn your shirt inside out, and stitch up the bottom hemline to close the bottom of your tote.
Now turn your completed tote right sides out and fill it with whatever!
For a more durable bag, you can top stitch the bottom seam while the bag is right side out to have a stronger seam line. You can also zig zag or serge around the handles to reinforce those if you choose. I just kept this one simple. Due to the nature of knit, the fabric will not unravel at the raw edges if you choose to leave them without additional stitching. This is going to be a perfect library book tote for summer reading program!
TOTE TWO: A purse-like little tote
Once again, start out by laying out your shirt.
Cut off the sleeves, but leave the neckline in tact. You will also need to cut the bottom of the shirt off to around a half inch longer than where you would like the bag to stop.
Save the sleeves, but you can throw out the bottom strip of the shirt or toss it into your scrap stack. (I tossed mine into the scrap stack to use for another adorable project)
Stitch up the shoulder part of your sleeves to close that end. Fold the hem end of the sleeve in half.
Turn your shirt inside out, then securely pin your folded sleeves into the shoulder of the tshirt.
Stitch the sleeves into the shoulder, making sure to stitch below the line of the sleeve hem. Then stitch up the arm holes and bottom of the shirt.
Turn right side out, tie the sleeves into a cut knot, and fill with goodies!
At the end of the day, Laney was VERY excited that we had saved her shirts in a way that she could continue to use them....and I was VERY happy to be done with the t-shirt battle of 2013.
I hope you enjoy this project as much as we did!
Thursday, May 2, 2013
Wednesday, May 1, 2013
Adorable Retro Kitchen Towels
It didn't take me long to find these cute little iron on templates for hand embroidery. Of course, you could always machine embroider them or use fabric paint or whatever method you choose. I wanted the retro feel of hand embroidery, and fell in love with these retro kitchen designs. These are pattern SR11 "Kitch'n Stitch'n" by Stitcher's Revolution.
Then, I set out to pick my thread colors. There is a handy color guide inside of the pattern package, but I wanted to match the towels, so I just picked whatever I felt like matched.
In addition to these supplies, you will need an ironing board, and iron, an embroidery hoop, a few straight pins, and an embroidery needle.
Once you have picked out which of the designs you would like to use, cut those out. Ironing will transfer everything on the paper, so be careful not to cut out any stray lines.
Now iron your dish towel to remove any wrinkles and prepare the surface for the transfer. Transfers work best on freshly ironed fabric. (for best results, you need to wash and dry the dish towels before starting this project)
Pin the iron transfer into place in whatever location you choose.
Now iron the transfers on. You will need to use a hot iron, but without steam. Iron over the transfer for around 5-10 seconds, moving the iron constantly. When you remove the transfer, you will be left with a dark grey transferred design.
I'll be honest. At this point, I seriously considered grabbing a permanent fabric marker, tracing these, and leaving it at that. It would be absolutely precious left as is...BUT I really did want a finished embroidered piece.
It is important to remember not to use your iron's steam feature. If you do, this is what will happen. As if my ironing board cover wasn't dirty enough.
Once you have your transferred designs, toss one of your towels into an embroidery ring and pull it tight.
Now begin working on your embroidered piece. I like to do one color at a time for the entire work. On this piece, I chose to use my green and yellow threads. I selected a backstitch for the outline and a satin stitch for the floral designs on the bowls.
For the Cherries print, I used red for the cherries and words, blue for the circle, and green for leaves and stems. For the Dab'll do ya, I used blue for the measuring spoons and yellow for the words. You can select any colors you like. These didn't turn out perfect, as I am not a fantastic embroiderer, but they turned out with the homespun, vintage feel that I was looking for, so I am SO excited about them.
I think the Mix it up is my favorite. What about you??
Have fun crafting!
Tuesday, April 30, 2013
Best Bath Toy Solution EVER!
My kids LOVE to play in the tub. I, however, don't LOVE cleaning the toys or smelling the ooky mildew and stale water smell. Welcome to Toddler Tuesday. If you struggle with stinky, mildewed bath toys, you will love this.
Here's what you will need:
1 bath toy caddy (mine is from Target)
2 pool noodles in your choice of size and color (can be done with one if you only want one color)
One large, scary knife
I paid a little extra for my toy caddy ($15) just to get a really adorable one, but you can pick one up for really cheap (around $5). The pool noodles are under $2 each.
Go ahead and install your bath toy caddy to the tub by suction cup or whatever method necessary.
Now, get your large, scary knife out and begin cutting the pool noodles into rings.
Once you have cut the amount and color of rings you want, go ahead and rinse them under the faucet and toss them into the toy caddy.
Now you have floating bath toys that do not mildew or hold stale water. These are super quick and easy to clean up, and the kids LOVE them even more than I thought they would!
If you try this at your house, let me know how much your kids love it!
Here's what you will need:
1 bath toy caddy (mine is from Target)
2 pool noodles in your choice of size and color (can be done with one if you only want one color)
One large, scary knife
I paid a little extra for my toy caddy ($15) just to get a really adorable one, but you can pick one up for really cheap (around $5). The pool noodles are under $2 each.
Go ahead and install your bath toy caddy to the tub by suction cup or whatever method necessary.
Now, get your large, scary knife out and begin cutting the pool noodles into rings.
Once you have cut the amount and color of rings you want, go ahead and rinse them under the faucet and toss them into the toy caddy.
Now you have floating bath toys that do not mildew or hold stale water. These are super quick and easy to clean up, and the kids LOVE them even more than I thought they would!
If you try this at your house, let me know how much your kids love it!
Sunday, April 28, 2013
Softball/Baseball Team Snack: Sugar Cookies with Flood Icing
This year, my oldest decided to give up dance and gymnastics to try softball. We have had a fun year so far. Here's a shot of her hitting her first ever single at her first ever game during her first ever at bat.
Every game, a different parent is responsible for the team snacks. Most moms bring Capri Suns or juice boxes accompanied by some sort of bagged chip or cookie. I wanted to shoot for something a little bit more personal. I originally intended to make baseball cupcakes. They seemed easy enough...white icing and pipe on some red lines. Laney, however, had a completely different plan. She wanted baseball cookies. The problem....I had no idea how in the world I was going to make baseball cookies. I did some internet research and flipped through a few cookbooks before finally deciding I was up for the challenge. You ready to make your own? Here we go.
Tools and supplies needed for entire project:
Mixing bowls
Measuring Cups and Spoons
Baking Sheets
Oven (oven mitts are helpful too)
Cooling racks
3 ziploc baggies
a toothpick
Start with your favorite sugar cookie recipe for cut cookies, not drop cookies. I am going to be honest here and admit that I used a Betty Crocker mix to save time. Prepare the dough and roll it out on a floured surface to around 1/4" thickness. Using a round cookie cutter, cut the desired size cookies. I used my small biscuit cutter. Transfer dough rounds onto a cookie sheet and bake according to mix or recipe directions. Let cool on a rack until completely cooled.
For the icing, here is what you will need (per batch):
1 c. confectioner's sugar
1 Tbsp. light karo syrup
1 Tbsp. milk (plus a little extra for flood batch)
One drop of lemon juice
Red food coloring (only for laces batch)
Mix up your first batch of white icing using 1c. confectioner's sugar, 1 Tbsp karo syrup, and 1 Tbsp milk and one drop of lemon juice. The acidity in the lemon juice cuts the sweetness by just a teeny bit and adds depth to the flavor of the icing. You will not taste lemon when you eat them. You may need to add about a 1/2 Tbsp more milk if the mixture is too thick. Transfer this mixture into a ziploc baggie and snip off the very tip of the bottom corner so that you can use it like a fancy piping bag. Trace around the outside edge of the top of your cookie, making sure to close the circle all the way. Somehow, I didn't end up with a photo of this step.
While that is drying, mix up a second batch of icing. This time, you will need to add around a tablespoon and a half of milk to the original recipe in order to get the consistency needed. You want it to flow freely without being really runny either. Good rule of thumb is that if you scrape a spoon across the bottom of the mixing bowl, you want the line to fill in within five seconds. Transfer this batch of icing into a new ziploc baggie, snipping the corner as we did before. This time, you can cut a little more of the corner off since this step requires less precision. Pour a generous amount of this icing inside of the ring you drew onto each cookie. After the first one or two, you will get a feel for how much it will take to fill the circle up without going overboard. Once you have poured the icing in, use a tootpick to spread the icing to the edges of your outline and pop any air bubbles that may be present. I did about 8 of these at a time until I finished. The icing starts hardening fairly quickly, so I don't recommend doing too many more than that before smoothing with a toothpick.
This step will take a little longer to dry, so I worked on the rest of the snack while I was waiting. I'll tell you about that when we finish working on our cookies.
When the icing has set up from your last step, go ahead and mix up a third and final batch of icing. To the original recipe, you will not add additional milk. You will add red food coloring. (I recommend a gel coloring as opposed to a liquid due to the changes in consistency it will make to your icing. You will see that my icing spread a little more than I would have liked because I used liquid coloring.) Once again, transfer the icing into a plastic bag and snip the corner. This time, you will want to snip only a tiny bit so that you have a finer stream of icing coming out. Carefully draw your lace lines onto each cookie. Moving quickly and confidently works best for this.
I left my cookies just like this, but if you wanted, you could add the detailed lace lines. I just felt like it was a little too much. Had I used gel coloring rather than liquid, I possibly would have like the result better.
As you can see, some of my cookies have little drip drips or crooked lines. Never let perfection ruin a good project.
I made enough of these that each player had three cookies. Once the cookies had completely dried (just under an hour) I stack them three high in red and white cupcake liners for easy transport. In addition to the cookies, I also gave each child a Capri Sun and a baggie of pretzel stick "bats" with a "great game" note attached.
While my flooding step was setting up, I made and printed the little business card sized notes that said "great game," filled snack sized bags with pretzel sticks, and stapled the notes to the baggies.
I was very pleased with how everything turned out, and the other parents all had a fit over how cute it all was. I hope your snack day is as much of a success as mine was.
Every game, a different parent is responsible for the team snacks. Most moms bring Capri Suns or juice boxes accompanied by some sort of bagged chip or cookie. I wanted to shoot for something a little bit more personal. I originally intended to make baseball cupcakes. They seemed easy enough...white icing and pipe on some red lines. Laney, however, had a completely different plan. She wanted baseball cookies. The problem....I had no idea how in the world I was going to make baseball cookies. I did some internet research and flipped through a few cookbooks before finally deciding I was up for the challenge. You ready to make your own? Here we go.
Tools and supplies needed for entire project:
Mixing bowls
Measuring Cups and Spoons
Baking Sheets
Oven (oven mitts are helpful too)
Cooling racks
3 ziploc baggies
a toothpick
Start with your favorite sugar cookie recipe for cut cookies, not drop cookies. I am going to be honest here and admit that I used a Betty Crocker mix to save time. Prepare the dough and roll it out on a floured surface to around 1/4" thickness. Using a round cookie cutter, cut the desired size cookies. I used my small biscuit cutter. Transfer dough rounds onto a cookie sheet and bake according to mix or recipe directions. Let cool on a rack until completely cooled.
For the icing, here is what you will need (per batch):
1 c. confectioner's sugar
1 Tbsp. light karo syrup
1 Tbsp. milk (plus a little extra for flood batch)
One drop of lemon juice
Red food coloring (only for laces batch)
Mix up your first batch of white icing using 1c. confectioner's sugar, 1 Tbsp karo syrup, and 1 Tbsp milk and one drop of lemon juice. The acidity in the lemon juice cuts the sweetness by just a teeny bit and adds depth to the flavor of the icing. You will not taste lemon when you eat them. You may need to add about a 1/2 Tbsp more milk if the mixture is too thick. Transfer this mixture into a ziploc baggie and snip off the very tip of the bottom corner so that you can use it like a fancy piping bag. Trace around the outside edge of the top of your cookie, making sure to close the circle all the way. Somehow, I didn't end up with a photo of this step.
While that is drying, mix up a second batch of icing. This time, you will need to add around a tablespoon and a half of milk to the original recipe in order to get the consistency needed. You want it to flow freely without being really runny either. Good rule of thumb is that if you scrape a spoon across the bottom of the mixing bowl, you want the line to fill in within five seconds. Transfer this batch of icing into a new ziploc baggie, snipping the corner as we did before. This time, you can cut a little more of the corner off since this step requires less precision. Pour a generous amount of this icing inside of the ring you drew onto each cookie. After the first one or two, you will get a feel for how much it will take to fill the circle up without going overboard. Once you have poured the icing in, use a tootpick to spread the icing to the edges of your outline and pop any air bubbles that may be present. I did about 8 of these at a time until I finished. The icing starts hardening fairly quickly, so I don't recommend doing too many more than that before smoothing with a toothpick.
This step will take a little longer to dry, so I worked on the rest of the snack while I was waiting. I'll tell you about that when we finish working on our cookies.
When the icing has set up from your last step, go ahead and mix up a third and final batch of icing. To the original recipe, you will not add additional milk. You will add red food coloring. (I recommend a gel coloring as opposed to a liquid due to the changes in consistency it will make to your icing. You will see that my icing spread a little more than I would have liked because I used liquid coloring.) Once again, transfer the icing into a plastic bag and snip the corner. This time, you will want to snip only a tiny bit so that you have a finer stream of icing coming out. Carefully draw your lace lines onto each cookie. Moving quickly and confidently works best for this.
I left my cookies just like this, but if you wanted, you could add the detailed lace lines. I just felt like it was a little too much. Had I used gel coloring rather than liquid, I possibly would have like the result better.
As you can see, some of my cookies have little drip drips or crooked lines. Never let perfection ruin a good project.
I made enough of these that each player had three cookies. Once the cookies had completely dried (just under an hour) I stack them three high in red and white cupcake liners for easy transport. In addition to the cookies, I also gave each child a Capri Sun and a baggie of pretzel stick "bats" with a "great game" note attached.
While my flooding step was setting up, I made and printed the little business card sized notes that said "great game," filled snack sized bags with pretzel sticks, and stapled the notes to the baggies.
I was very pleased with how everything turned out, and the other parents all had a fit over how cute it all was. I hope your snack day is as much of a success as mine was.
Friday, April 26, 2013
Pin Tuck Dish Towels
Hi! Welcome to Fabulous Friday! I haven't posted in a while....life has been C.R.A.Z.Y! We have been so busy with softball and family activities that I completely neglected you. I am back in action now. While I was away, we had an opportunity to do some cleaning up and clearing out. That means I got to bring my sewing things back down from the attic. That makes me happy happy happy. The first order of business was to start piecing a quilt my mom and I are working on (HUGE project). Then, I made a dress I had cut the pieces for quite some time ago (see pic at bottom of post). As I was thinking of what to make next, and cleaning the house of course, I ran across the list I made of things I would like to make for Laney's hope chest this year. On the list was a set of pin tuck dish towels. YES! I even had already purchased the necessary flour sack towels. This was such a fun project. Let's get started on yours.
Here's what you need:
Flour sack dish towels (pack of 5 for around $5 at Wal Mart)
White Thread
Sewing Machine
Iron
Scissors
Alright, do you have all of your supplies? Then let's get started!
The absolute first thing you want to do is to wash and dry the towels. This is to make sure they are done shrinking. Unfortunately, it makes them come out looking like this....
Don't worry! Most of that will iron right out. Go ahead and iron out as much of the wrinkles as you can. You want to set the iron so that it steams. The trickiest part about this step is getting the edge you will be working with as straight as possible. The flour sack cloth is very pliable, so the edges stretch easily. At any rate, you should come out with an edge looking like this.
Once you have your straight edge, it is time to begin ironing the crease that will become your first pintuck. Go ahead and fold the edge of the fabric under. I use old country measurements, so I measured halfway down the fattest part of my finger.....but for scientific purposes, let's say 2 1/4 inches.
Press this crease so that it stays when you move the cloth to the sewing machine. You can pin it if you feel more comfortable that way. I hate pinning fabric. Move your cloth to the sewing machine, and run a stitch the full length of the crease we just made. I wanted a fairly wide pin tuck, so I aligned it to my 3/8 seam allowance marker. If you want thinner pin tucks, feel free to adjust this to 1/4 or whatever you like.
Once you have done that, you will move back to the ironing board. Open the folded cloth up, and iron the pin tuck down toward the edge we ironed straight earlier.
Now fold the cloth as we did before to make another pin tuck. This time you will want to use a smaller measurement. In country measure, I used the second joint of my finger. If you are actually measuring, we will call it 1 1/2". Crease, sew, iron, and repeat until desire number of tucks have been made.
I chose to make three pin tucks. I just liked the look of that and stopped. You should feel absolutely at liberty to make as few or as many pin tucks as you like.
Once you have finished making the pin tucks, you will need to secure them in their downward facing positions. To do this, you will run a stitch beginning at the top of the top pin tuck and extending to the bottom of the bottom pin tuck.
Trim your loose thread ends and give your towel a last press with the iron. Tada! You did it!
Since I was making this for Laney's hope chest, I actually went ahead and tied a stack of three of these up with some yarn to keep them together and give them a little touch of love.
I am very excited about how these turned out. I think these would be amazing to add a monogram and give as a wedding gift as well. I plan to make another set for sweet little Leah soon.
As promised, here is the picture of the little dear wearing the dress I made her earlier in the week.
We were waiting for Laney's softball game to start.
Well, that's it for now guys and gals! I hope you enjoyed this project as much as I did. If you try it out yourself, you'll have to let me know!
Here's what you need:
Flour sack dish towels (pack of 5 for around $5 at Wal Mart)
White Thread
Sewing Machine
Iron
Scissors
Alright, do you have all of your supplies? Then let's get started!
The absolute first thing you want to do is to wash and dry the towels. This is to make sure they are done shrinking. Unfortunately, it makes them come out looking like this....
Don't worry! Most of that will iron right out. Go ahead and iron out as much of the wrinkles as you can. You want to set the iron so that it steams. The trickiest part about this step is getting the edge you will be working with as straight as possible. The flour sack cloth is very pliable, so the edges stretch easily. At any rate, you should come out with an edge looking like this.
Once you have your straight edge, it is time to begin ironing the crease that will become your first pintuck. Go ahead and fold the edge of the fabric under. I use old country measurements, so I measured halfway down the fattest part of my finger.....but for scientific purposes, let's say 2 1/4 inches.
Press this crease so that it stays when you move the cloth to the sewing machine. You can pin it if you feel more comfortable that way. I hate pinning fabric. Move your cloth to the sewing machine, and run a stitch the full length of the crease we just made. I wanted a fairly wide pin tuck, so I aligned it to my 3/8 seam allowance marker. If you want thinner pin tucks, feel free to adjust this to 1/4 or whatever you like.
Once you have done that, you will move back to the ironing board. Open the folded cloth up, and iron the pin tuck down toward the edge we ironed straight earlier.
Now fold the cloth as we did before to make another pin tuck. This time you will want to use a smaller measurement. In country measure, I used the second joint of my finger. If you are actually measuring, we will call it 1 1/2". Crease, sew, iron, and repeat until desire number of tucks have been made.
I chose to make three pin tucks. I just liked the look of that and stopped. You should feel absolutely at liberty to make as few or as many pin tucks as you like.
Once you have finished making the pin tucks, you will need to secure them in their downward facing positions. To do this, you will run a stitch beginning at the top of the top pin tuck and extending to the bottom of the bottom pin tuck.
Trim your loose thread ends and give your towel a last press with the iron. Tada! You did it!
Since I was making this for Laney's hope chest, I actually went ahead and tied a stack of three of these up with some yarn to keep them together and give them a little touch of love.
I am very excited about how these turned out. I think these would be amazing to add a monogram and give as a wedding gift as well. I plan to make another set for sweet little Leah soon.
As promised, here is the picture of the little dear wearing the dress I made her earlier in the week.
We were waiting for Laney's softball game to start.
Well, that's it for now guys and gals! I hope you enjoyed this project as much as I did. If you try it out yourself, you'll have to let me know!
Tuesday, March 5, 2013
Read Across America Week: Seussical Celebration
I love love love Dr. Seuss. As most of you know, Saturday was his birthday. That means that last week was Read Across America week. Children all across America celebrated Dr. Seuss' birthday at school. Since we have been working toward a more preschool style routine at our house during the day, I figured my munchkins would love to get in on the festivities. I had so much fun with all of this that I just had to share some of it with you. I'll skip the hard learning parts and just share the Seussical parts!
I picked a different book for each day of the week. Monday, we read Horton Hears a Who. Tuesday, we read Go Dog Go (yes, technically by P.D. Eastman, but the boy loves dogs). Wednesday, we read The Lorax. Thursday we read The Foot Book. Friday we read One Fish Two Fish Red Fish Blue Fish....AND....The Cat in the Hat (of course).
Here are two of the projects we did. There were others, but we were having so much fun, I forgot pictures!
We started out by drawing a hat outline on red construction paper. Next, we cut stripes from white paper and glued them in place. Once the stripes were in place, we cut out the hat shape. We then attached the hat shapes to the fronts of our paper plate rings. (before we started, I cut the center circles out of red party plates) This project was easy and fun. The boy didn't take his off ALL...DAY...LONG!
The pictures just don't do this cutie justice. I absolutely adore hand print projects. The hand prints just add such a personal touch and make things such a keepsake. I plan to hand these out to the grandparents as we do more and more of them. Anyway...this was just as simple as orange pieces of construction paper and yellow, white, and brown paint. I painted his hands yellow and helped him stamp them onto the paper. Then we used his index fingers to make the eyebrows. After that, I helped him use round foam brushes to stamp on the white and brown making the eyes and nose. I think I had as much fun with this as he did. When we finished, I let him just stamp to his little heart's content on another sheet of paper.
There were so many other fun things we did. Maybe one day I will post the rest of the projects and activities along with any others I come across.
Happy reading, everyone!
I picked a different book for each day of the week. Monday, we read Horton Hears a Who. Tuesday, we read Go Dog Go (yes, technically by P.D. Eastman, but the boy loves dogs). Wednesday, we read The Lorax. Thursday we read The Foot Book. Friday we read One Fish Two Fish Red Fish Blue Fish....AND....The Cat in the Hat (of course).
Here are two of the projects we did. There were others, but we were having so much fun, I forgot pictures!
We started out by drawing a hat outline on red construction paper. Next, we cut stripes from white paper and glued them in place. Once the stripes were in place, we cut out the hat shape. We then attached the hat shapes to the fronts of our paper plate rings. (before we started, I cut the center circles out of red party plates) This project was easy and fun. The boy didn't take his off ALL...DAY...LONG!
The pictures just don't do this cutie justice. I absolutely adore hand print projects. The hand prints just add such a personal touch and make things such a keepsake. I plan to hand these out to the grandparents as we do more and more of them. Anyway...this was just as simple as orange pieces of construction paper and yellow, white, and brown paint. I painted his hands yellow and helped him stamp them onto the paper. Then we used his index fingers to make the eyebrows. After that, I helped him use round foam brushes to stamp on the white and brown making the eyes and nose. I think I had as much fun with this as he did. When we finished, I let him just stamp to his little heart's content on another sheet of paper.
There were so many other fun things we did. Maybe one day I will post the rest of the projects and activities along with any others I come across.
Happy reading, everyone!
Monday, March 4, 2013
Chalupa Roast: A 5 Ingredient Crock Pot Favorite
Growing up in a town near an Air Force base, you get used to people coming and going frequently. As a result, you can experience many different things from all over. My family picked this recipe up from an airman who visited quite a few years back. I'm not sure where his family began making it, but I am sure glad that they did.
This recipe is easy to throw together in the morning to have a great meal waiting in the evening. It has a really nice southwestern feel to it while still being kid friendly.
Here is what you need:
1 three to five pound pork roast (I have done this with different size roast and I have done it with beef roast...turns out great no matter what...we just prefer the pork roast...the roast pictured is actually with a pork loin roast)
2 cans Ranch style beans
1 can cream of mushroom soup
1 can Rotel tomatoes
1 small (4 oz) can diced green chilies
Here is what you do:
Layer all ingredients in the crock pot in the order listed. DO NOT STIR! Cook on low in crock pot for 8-10 hours. Shred roast and stir. Serve over hot rice or over tortillas.
My family actually eats this two days in a row (sometimes three). The first day we serve it over rice. The next day, after the juices have soaked in, we serve it in tortillas with sour cream and other toppings. My husband sometimes just throws it in a bowl and has at it. Every family member has their own favorite way to enjoy this dish...but the point is that they all enjoy it!
I hope your family enjoys it as much as mine has!
Subscribe to:
Posts (Atom)