Showing posts with label Sewing. Show all posts

Tuesday, October 1, 2013

Quick and Easy to Sew Tie Closure Bib Tutorial.

Sewing thick, absorbent bibs for your baby is actually a lot simpler than you may think.  I have made bibs several different ways, but this is the quick and easy way.
 
 
Here's what you'll need:
Fusible fleece
Fabric of your choice for the front
Fabric of your choice for the back
Double Fold Bias Tape in coordinating color (about a 24 inch length)
 
And of course a sewing machine, thread, pins, an iron...basic sewing tools.
 
A note on the fabric, the size you need will vary based on what size bib you use as a template, but a 10x10 square should pretty much cover all of your needs.
 
 
Here's what you do:
 
Pick out a bib that you already have in the house (or just draw a circle and cut a notch out) and trace it onto the rough side of your fusible fleece.  Then cut it out.
 
 
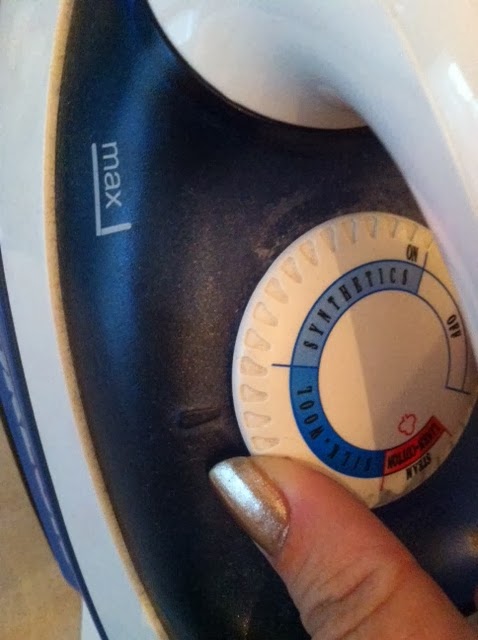
Set your iron to a setting that does not steam.  This is important for the fusible fleece sticking correctly.

 
Lay your fleece cutout rough side up, line your front of the bib fabric up on top of it right side up and iron according to fleece directions. 

 
This is what the back looks like.  Basically you just fused the bib to the wrong side of your fabric so that it will act as a lining for your bib.

 
Cut around the fleece template leaving a 1/4" allowance around all edges for sewing.

 
Sew the right side of your front fabric to the right side of your back of the bib fabric square, leaving the neck notch open for turning.  We'll close it up later.

 
It will now look like this.


Cut off the excess fabric all the way around to make the fabric ends even.  Also, make little notches all the way around about every inch to make the curves pretty when you turn it out.

 
Turn it right sides out.

 
Pin your bias tape to the bib neck.  You can do this the right way or you can do this the cheater way.
 
 
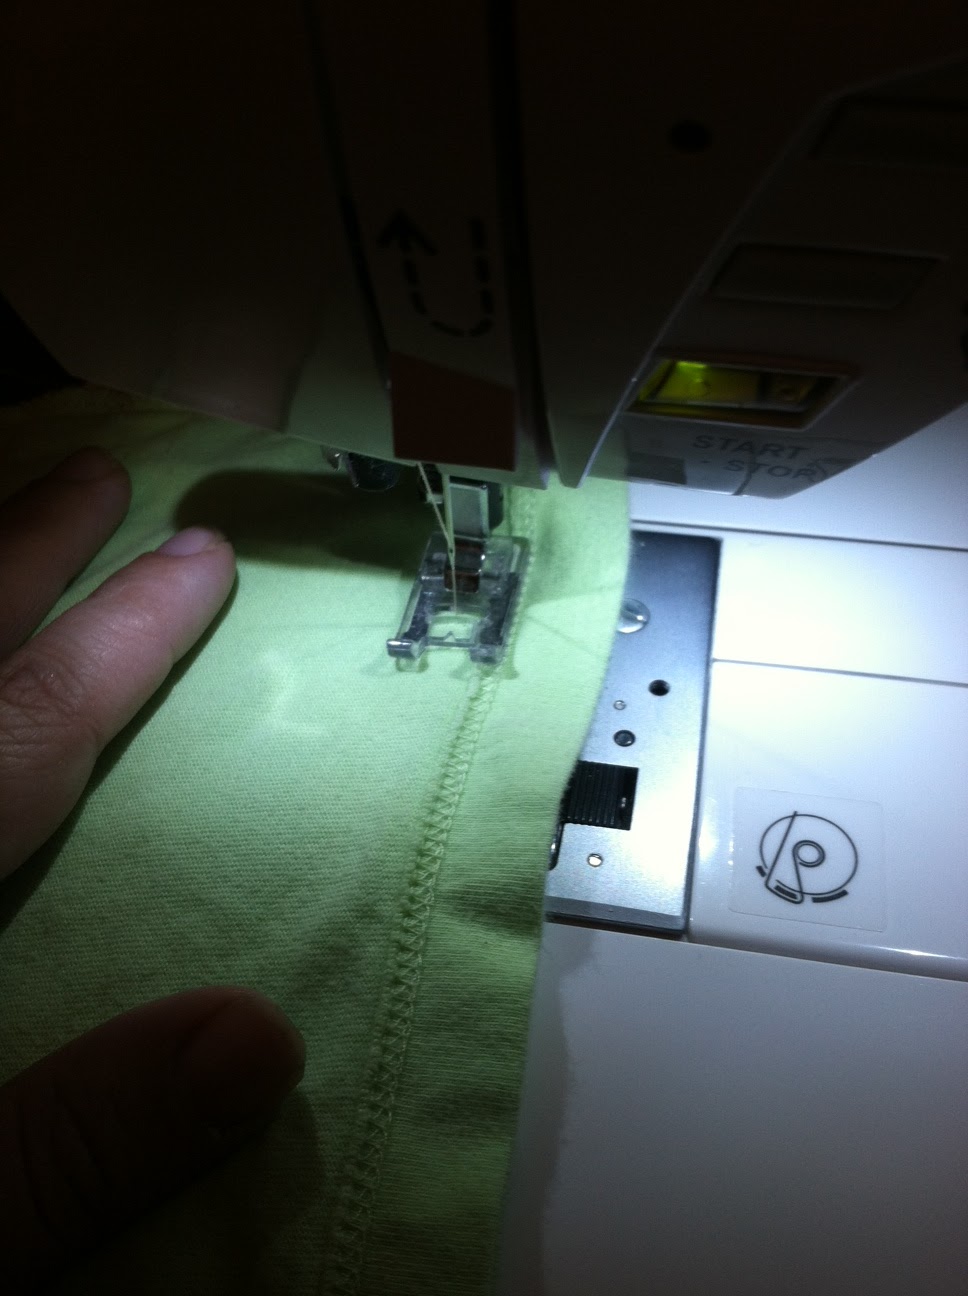
Sew the bias tape in place, making sure to fold your ends under as shown.


Trim your strings and you have an adorable bib for your little one!  If you used two different fabrics, it is also reversible.


Great job!  I hope you enjoyed this project as much as I did.  Post pics if you make some for your little one.


Thursday, September 12, 2013

Monster Party Part 4: The Favors

Party favors are always my favorite part of a party to put together.  I guess I love that other kids are going to get little surprises the day of the party as well as mine.  I try to give a variety of different things as favors so that there is something for everyone.  Here is what we settled on this year.

The first thing I did was pick up a handful of these small gift bags for 33 cents a piece.  I punched out 1" circles from cardstock using my 1" punch.  I can't tell you how many ways that punch has saved my life.  After that, I just added a few details with a Sharpie to some and touches of black and red construction paper to others to make these little faces on the bags.


Now that I had my gift bags read to go, I started work on what would go inside.  The first item I added was super simple.  I found, on the aisle with the crayons and coloring books, bottles of scented bubbles with awesome little monster like silly faces already on them.  They rang in at 97 cents a bottle, so I splurged a little.


The next item to head into the favor bags was a teeny little pot of play-doh.  You can actually pick up party packs of fifteen mini tubs for around 5 dollars in the toy section of your local store.


Of course, I couldn't just toss in a plain old tub on play-doh....so I went right to work cutting strips of neon paper to fit around the sides of the tubs.

 
I used a glue stick to attach the strips of paper to the tubs.


Then I used a Sharpie marker and some googley eyes to make monster faces on the tubs before tossing them into the bag.
 
 
I always try to include some sort of edible element to the favor bags.  You know...a little sugar shot to take home...so that all of the moms roll their eyes and the kids all love me.  ;) 
 
This year, I incorporated my food item and my monster theme in these little cuties.
 
 
The clear little containers came in packs of four with different all different colored lids.  The containers were four for $1.  I filled them full of M&Ms and used googley eyes to make them into little monsters.
 
 
As I was looking for ideas for monster parties, I found a ton of different posts where Ugly Dolls (yes, that is actually a thing) were given out as monster favors.  I loved them, but was NOT about to spend the kind of money it would take to get each child their own plushy.  After about ten minutes of pouting, I went up to the bonus room to see what extra supplies I had in storage that could be used to possibly make these little fellas.  Just to prove to you how much of an insane crafter I am...I already had yards upon yards of fleece fabric and a large bag of stuffing in my sewing/crafting supplies.  My husband gave me a huge eye roll when I marched back into the living room with everything I needed.
 
 
Keep scrolling for the full tutorial on these plushy little guys.
 
I have no idea how much these would have cost me had I purchased the fabric and stuffing when I started the project....but for me...these were free....my favorite price.  If you are doing these at home, here is what you need:
 
Brightly colored fleece fabric
White fusible fleece (scrap or smallest amount you can get)
White thread
Black Thread
an Iron
a Sewing Machine
Needle
Thread (I used a rainbow multi, but I recommend getting the colors of the fleece)
Stuffing
Scissors
 
If you are not really handy with a sewing machine...THAT IS OK!  These are VERY crudely made on purpose.  The whole point is for them to be MONSTERS!  Sew crooked, mess up, that is the fun in them.
 
Start by making your monster templates.  I just freehanded some little guys out.  If you are not comfortable with that, there are books with monster templates in them.  Cut out your templates from cardstock.


My templates ended up being around 7" tall.
 
The next step is to cut out squares from your fleece.  You want to cut double the amount of plushies you want to end up with (fronts and backs).  I cut my squares 10" so that I had plenty of wiggle room, but cut whatever amount you feel comfortable with. 


Once you have cut all of your squares, you will want to trace and cut out your fronts.  DO NOT cut out the backs.  You will see why soon.  This means, you want to trace shapes onto half of the fleece squares.  I used a Sharpie (sheepish grin), but I would recommend using a fabric marker.


Then cut out all of your fronts with sharp sewing scissors.
 
 
Next, you want to cut out 1" circles for eyes and any accent pieces, such as teeth from your white fusible fleece.  I used a 1" punch from cardstock as a template.  Make sure you trace onto the stiff, fusible side, not the fabric face.


On these I REALLY recommend using a fabric marker rather than a Sharpie.  You can see how it rubs off on skin.  If you do use a Sharpie, make sure you cut all of the black part off completely.  Otherwise it will show through when you iron this on and sew.
 
Place your eyes and teeth onto your faces where you want them and iron then on per the fusible fleece instructions.


Using your sewing machine with white thread, stitch around these pieces to secure them.  It took me a few times to decide how I wanted to stitch these.  I started out blanket stitching, but ended up using a short and wide zig zag to basically embroider them on.
 
 
Once you have sewn on all of your white pieces, you want to switch to black thread to add the pupils and mouths.  Once again, I just used a short and wide zig zag to create an embroidery style stitch.  Make the faces different in whatever ways you like.  On some of my little fellas I even used one eye and made an "x" for the other.
 
Now you want to pin the faces face-down onto the squares you saved for the backs.  When you stitch around fabric, it has a tendency to stretch or shift.  If we had cut both back and front out, it would have been very difficult to keep the sides lined up perfectly.  This way, you can move quickly and easily and just trim the extra when we are ready.


Stitch all the way around the edges, leaving an opening to turn these right side out.  A normal straight stitch will do, but you can do these however you like.  Once you have sewn all of these, you will trim the extra fabric off, turn them inside out, and stuff them.
 
 
You can see the little puckers here where I left the holes to turn them.  Once you get all of your monsters stuffed, you will use needle and thread to hand stitch the holes up.
 

Then just toss them into a basket for a monster adoption station.

I also printed out little monster adoption certificates for the kids to name their monsters.  I think My favorite monster name of the day was Hiffy.

The favors really ended up being super fun and cute.  A huge hit for sure.

I hope you enjoy making these for the little monsters in your life!


Thursday, May 9, 2013

FREE Window Valances from Bed Skirt

Welcome to Thrifty Thursday!  I have been meaning to do and post this for MONTHS and am just now getting around to it!  At Christmas, my mother bought my girls new bed things.  They came as "bed-in-a-bag" sets.  Each set had sheets, shams, pillowcases, and a bed skirt.  My girls have twin over full bunk beds, so the bed skirts can't be used.  I was bummed that the bed skirts were going to go to waste, but I held on to them just in case.  A few weeks later I was trying to decide what to do about window treatments in their room.  The prices on some of these things are CRAZY!  The thought ran through my head that "valances are just a long piece of fabric with a sleeve sewn in them!"  Then it hit me.  I could use the bed skirts to make window valances.  No money spent, no bed skirts wasted.  This made me happy, happy, happy!

The first thing you want to do is wash and dry the bed skirt to make sure all shrinking is done.  Now, separate the bed skirt fabric from the funky liner that goes under the mattress.  You will be left with three rectangle pieces (two long, one short).  You will need to use the long pieces for this project.  Set the short piece aside for another day or throw it in the scrap fabric stack.  The edge where it was connected to the liner will look like this.


You will then need to fold the edge in by two inches and iron a crease.  If you feel more confident using pins, pin the fabric in place.  It is up to you. Be careful as you are doing this, not to iron on the threads that connected the fabric to the liner.  These threads are plastic and will melt....STINKY.


From here, go ahead and sew a seam down the entire length of the fabric at about 1/4 from the raw edge.  This will make a sleeve for the curtain rod to slide through. Repeat these steps until the number of valances you need are completed. 


Now, just throw the curtain rod in and install!


Not bad for a 5 minute free project, huh?   Try it, and let me know how yours turn out!


Thursday, May 2, 2013

T-Shirt Tote Two Ways

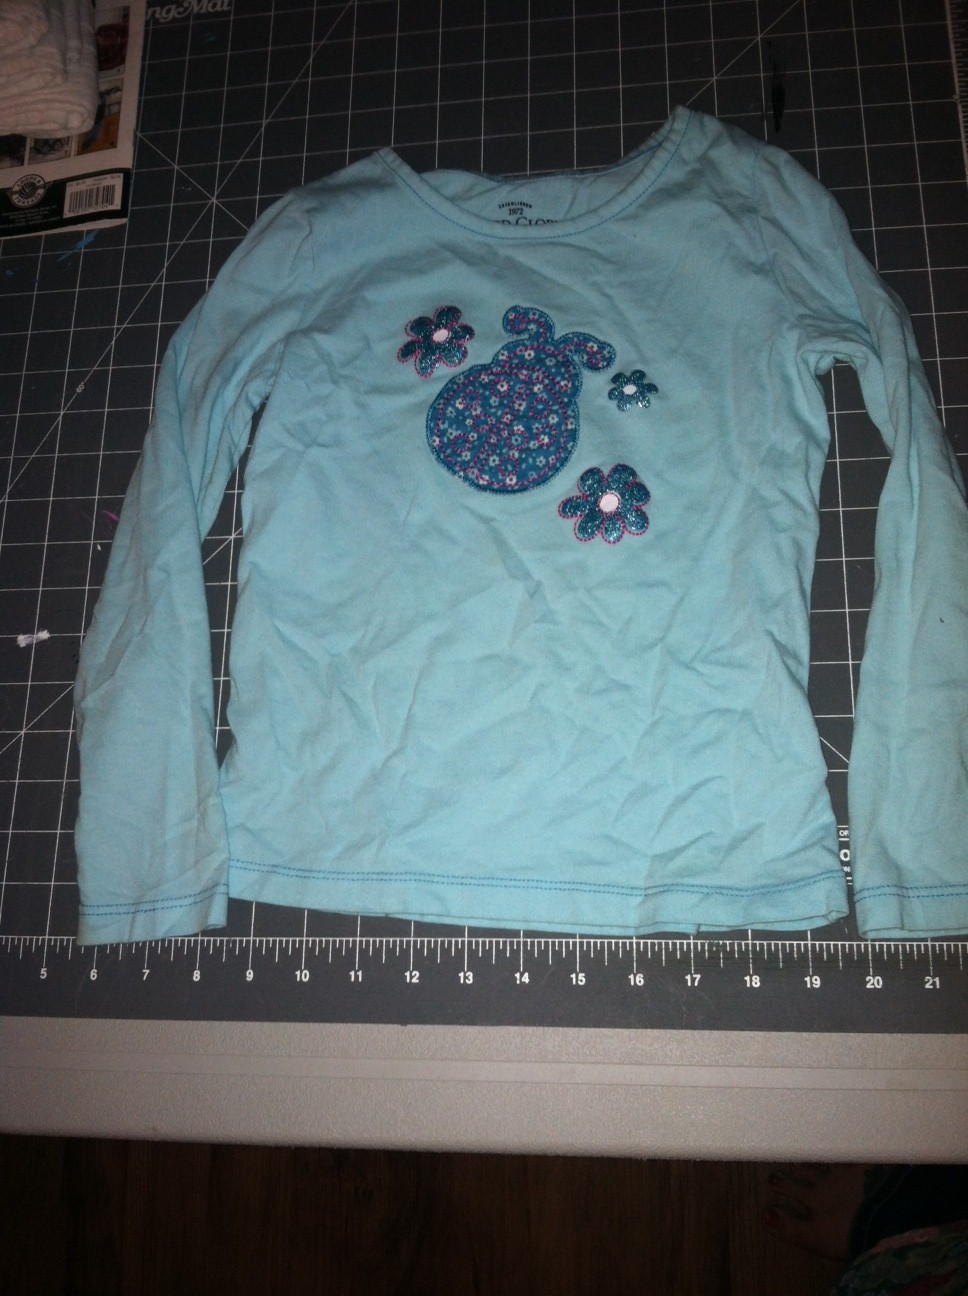
Twice a year at my house, we go through everything, purge, and donate things we no longer need to charity.  Normally this goes off without a hitch.  This spring, however, my daughter had a few shirts that she just didn't want to let go of.  We went round and round about these shirts.  Finally I just decided to leave it alone.  She had to go to school sometime, so I decided I would just sneak them out after she had forgotten about them.

While I was waiting ever so patiently for Laney to forget the shirts, I remembered seeing several things online about using t-shirts to make totes.  When she went to sleep Sunday night, I decided to get to work.  I sneaked into her room under cover of night, and confiscated the shirts in question, then I made two very cute, very different little bags.

The first tote took less than five minutes, and is a simple tote for library books and such.  The other is a little more purse-like to carry any summer goodies as we are out and about.

What you will need:
One t-shirt (adult or child)
Sharp Scissors
Sewing machine
coordinating (or not) thread

Here we go!

TOTE ONE: Just a simple tote

Start out by laying out your t-shirt.


Cut the shirt sleeves off.  Then cut to scoop the neck down further.


Now turn your shirt inside out, and stitch up the bottom hemline to close the bottom of your tote.


Now turn your completed tote right sides out and fill it with whatever!
For a more durable bag, you can top stitch the bottom seam while the bag is right side out to have a stronger seam line.  You can also zig zag or serge around the handles to reinforce those if you choose.  I just kept this one simple.  Due to the nature of knit, the fabric will not unravel at the raw edges if you choose to leave them without additional stitching.  This is going to be a perfect library book tote for summer reading program!


TOTE TWO: A purse-like little tote


Once again, start out by laying out your shirt.


Cut off the sleeves, but leave the neckline in tact.  You will also need to cut the bottom of the shirt off to around a half inch longer than where you would like the bag to stop.


Save the sleeves, but you can throw out the bottom strip of the shirt or toss it into your scrap stack. (I tossed mine into the scrap stack to use for another adorable project)


Stitch up the shoulder part of your sleeves to close that end. Fold the hem end of the sleeve in half.


Turn your shirt inside out, then securely pin your folded sleeves into the shoulder of the tshirt.

Stitch the sleeves into the shoulder, making sure to stitch below the line of the sleeve hem.  Then stitch up the arm holes and bottom of the shirt.


Turn right side out, tie the sleeves into a cut knot, and fill with goodies!


At the end of the day, Laney was VERY excited that we had saved her shirts in a way that she could continue to use them....and I was VERY happy to be done with the t-shirt battle of 2013.

I hope you enjoy this project as much as we did!