Showing posts with label Kid Crafts. Show all posts

Tuesday, September 10, 2013

Monster Party Part 2: The Fun

Every party needs some fun activity for the party goers to participate in.  When I started planning this Monster party, I actually had a pretty easy time settling on an activity.  I am a LOVER of handprint crafts, so handprint monsters were at the top of my list.  Bonus??  I already have paint and paper on hand because of how much we craft anyway.  Add a handful of googley eyes left over from the party décor and a handful of sharpies...voila!  Instant craft!


When each child came in, we painted his/her hand according to how they wanted their monster to look, then stamped it onto a paper with their name in the corner.  We then washed their hands, and left the paper to dry as they moved on to other activities.


Later in the party, once the paper had dried, we had them come back to add googley eyes and marker faces to their monsters.

I recommend using fast drying paint, such as acrylic, over more watery paint, such as finger paint, if you are doing this in a party setting.  Otherwise, you will just end up with soggy papers by the time the party is over.

These made great little keepsakes for takeaways...and what kid doesn't love getting messy for a few minutes?


I also wanted something for the kids to be able to do in the down time....whether it be while other kids made their handprint monsters or while parents were making their plates.  I found these great little activity pads in the Walmart aisle with the finger paints and coloring books.  It had blank monsters with stickers to make the faces.  I tore out the pages individually and cut the face stickers all out into smaller pieces to scatter on the table, then tossed them into pails to set out like this.


The kids seemed to really enjoy this...and it was SO simple!

These activities were easy and very nearly free.  The activity book was around $3.  The other supplies I already had at the house from our daily crafting or leftover from party decorating and favors.

Love these?  Stay tuned the rest of the week for the invitations and decorations, the favors, and the party recap!

Tuesday, May 14, 2013

Dye Rice for Sensory Tubs and Projects

There are a million and one uses for brightly colored rice.  Mostly, I just wanted it for my kids to dig in for sensory bins.  I have seen other tutorials out there using rubbing alcohol to die the rice, but I really wanted to die the rice using something that if the kids happened to eat it....it would be a little safer than that.  After a while, I decided white vinegar should do the trick.  After all, it is used to die Easter eggs and it evaporates fairly quickly.

First things first...grab your supplies

1 c. uncooked white rice per color (we did 3; I use Zatarain's)
2 Tbsp white distilled vinegar per color
several drops food coloring each color

one small bowl per color
one sandwich sized bag per color
1 c. measure and 1 Tbsp measure
wax paper
shallow pans for drying

Ok!  Now that you have all of your supplies together, we can get started!

Measure 1 cup of rice into each sandwich baggie.  If Zatarain's rice is available in your area, I recommend using it over other brands.  It holds its form much better.


Set those aside until we finish mixing our colors.  In each small bowl, mix 2 Tbsp white vinegar with food coloring and stir well.  The color intensity will depend on how much food coloring you add, so if you like the colors bright, go a little crazy!  The color will be much lighter on the rice than in the bowl.  We used orange, lime green, and purple.


Now, dump one of these colors into each bag of rice.  You want to work these one at a time so that your rice doesn't get mushy.


Squeeze the air out of the bag, and seal it.  Then just squeeze and mash to your little heart's content until all of the rice is well coated in coloring.


Or you could get a little help like I did.


I think she was a little excited.

Once your rice is fully coated, dump it into a shallow pan lined with wax paper to dry.


Ours took about an hour and a half to dry completely.  Of course, I couldn't leave it alone...I kept going over and mushing on it every 20 minutes or so.


When you are done, you have brightly colored rice to make sensory bins or other projects with.  Trust me....you will see projects with this in the future.  I am LOVING this!


I mixed all of ours up for the project we'll be working on, but store yours however you are going to use it.

Let me know if you try this with your kids or use another method that you love.


Friday, May 10, 2013

Mother's Day Gift for the Cooking Momma

I have been oh so blessed to have a family full of cooking women!  They have seasoned my life with their knowledge about God, life, family, and food. This mother's day, I wanted to give them kitchen gifts with a personal touch.

I started by picking up some good quality, inexpensive bamboo cutting boards and utensil sets.  I used this method from another post of mine to put each lady's initial and decorative flowers on each utensil and their name and flowers onto the cutting boards.

Ok, and maybe a heart for each, too.  After all, we do want them to know we love them.
 Mimi's cutting board is looking so sweet!
 Here is one of grammy's spoons!

Next, I grabbed some of the flour sack dish cloths left over from our Pin Tuck Dish Towels and got to work putting ruffles on each one.  Granny Carol got pink paisley ruffles, Mimi got white ruffles, and Grammy got green ruffles.  I am posting a separate tutorial for the ruffled cloths, so stay tuned!

This is Granny Carol's completed set. If I have a little extra time between now and then, I am going to embroider something cute onto each dish towel.

We are also throwing in some of these cute little bead suncatchers that the kids made more of recently.


We are also wrapping each present in a special wrapping paper we created, but that is another post for another day.

I think each of these special ladies are really going to love their box of kitchen happies.

Let me know if you tried any of this for your Mother or another special lady in your life!


Friday, May 3, 2013

Bow Drawer to Bow-tique

For years, I have stored bows, headbands, head wraps, ponytail holders, and more in the top dresser drawer of my daughter's room.  Lately, with two girls, it has gotten to be quite a huge mess to dig through in the mornings.  As I was rearranging the girls' room this week, I decided it was finally time to do something about the mess.

I started by attaching three vertical ribbons to the left side of the dresser, which was a whiteboard.  I did this with a staple gun and staples, but your method may vary based on the material you are attaching to.


All of the bows on the two ribbons to the right are alligator clip bows.  The second from the left are barrette closures.  The far left are assorted, oddball closures along with snap clips and bobby pins.  Hanging from the far left ribbon is a ponytail holder with all of their claw clips clipped around it.


This is WAY more attractive than the giant mess the drawer was before.  I wish I had taken before pictures.  It was ROUGH.  Look again...I even color sorted each bow style.


That was great for the bows, but the girls still had a ton of headbands and head wraps to organize.  After a few minutes of scratching my head, I headed to the kitchen to grab a paper towel holder.


Perfection!  This worked great for all of their headbands and headwraps.  This may be a temporary solution depending on how well it works out, but so far it is amazing.

Last, but not least....I needed something to do with the 85 million ponytail holders.  You have no idea how serious I am...but you are about to.  Since I had already robbed the kitchen once, I headed in there again for a finishing touch on the girls' bow-tique.  A ROLLING PIN!  You can buy a cheap one if you don't have one in the kitchen to spare.  This is an antique one that was given to me as a gift. (I have five rolling pins)


This is probably my favorite solution out of this whole project.  It fits perfectly inside the front of the top drawer too! 

This made the bows much easier to see and access.  It also protects her headbands from getting all smooshed and broken like they have been getting lately.  The best part though....it freed up almost the entire top drawer for swim suits and accessories!  Every girl needs a little more storage space.

Let me know if you use any of these solutions for yourself or your daughter.  Keep crafting, and have fun!


Thursday, May 2, 2013

T-Shirt Tote Two Ways

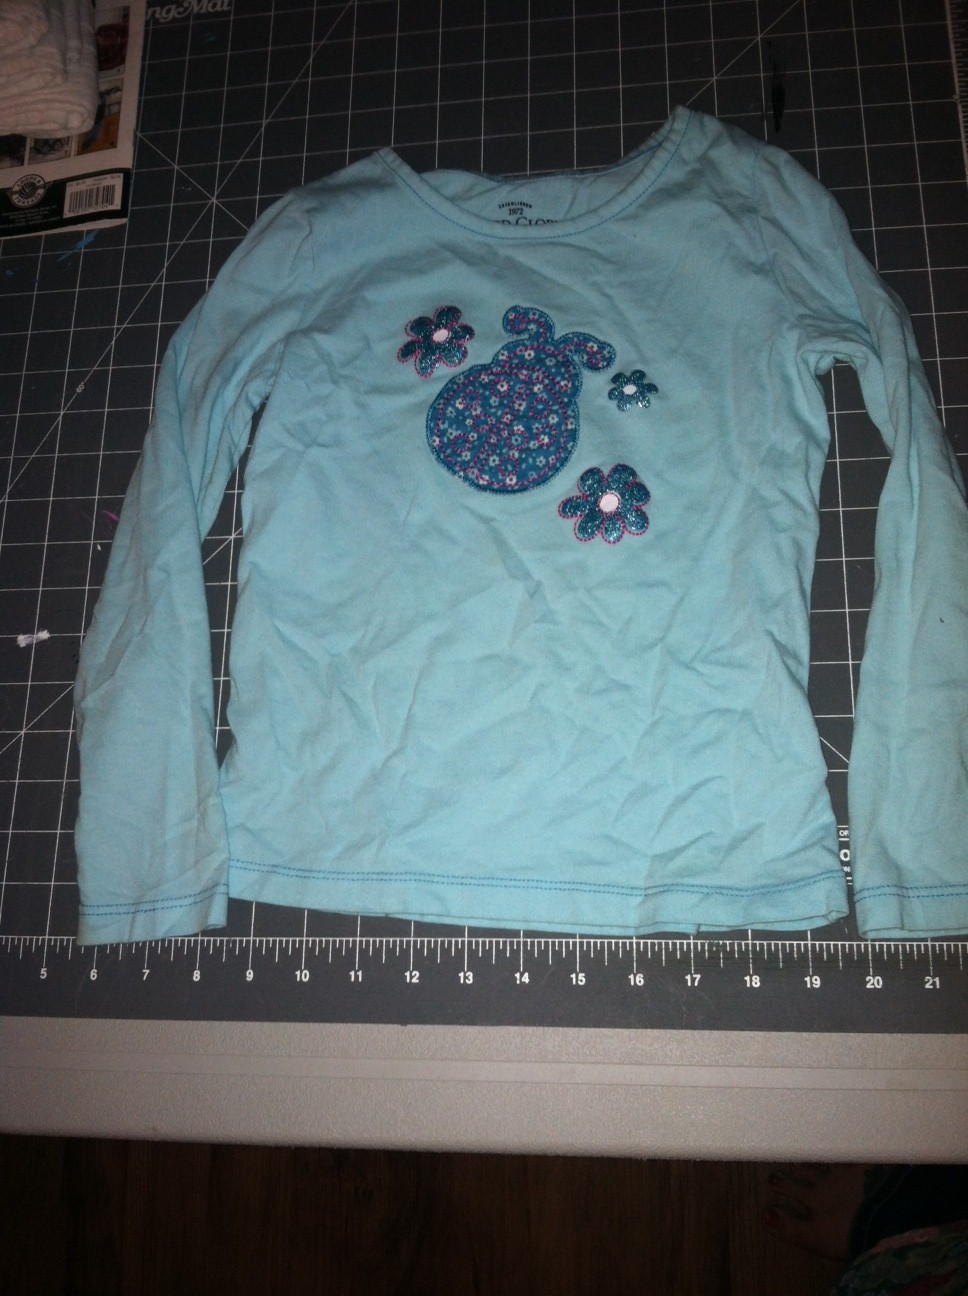
Twice a year at my house, we go through everything, purge, and donate things we no longer need to charity.  Normally this goes off without a hitch.  This spring, however, my daughter had a few shirts that she just didn't want to let go of.  We went round and round about these shirts.  Finally I just decided to leave it alone.  She had to go to school sometime, so I decided I would just sneak them out after she had forgotten about them.

While I was waiting ever so patiently for Laney to forget the shirts, I remembered seeing several things online about using t-shirts to make totes.  When she went to sleep Sunday night, I decided to get to work.  I sneaked into her room under cover of night, and confiscated the shirts in question, then I made two very cute, very different little bags.

The first tote took less than five minutes, and is a simple tote for library books and such.  The other is a little more purse-like to carry any summer goodies as we are out and about.

What you will need:
One t-shirt (adult or child)
Sharp Scissors
Sewing machine
coordinating (or not) thread

Here we go!

TOTE ONE: Just a simple tote

Start out by laying out your t-shirt.


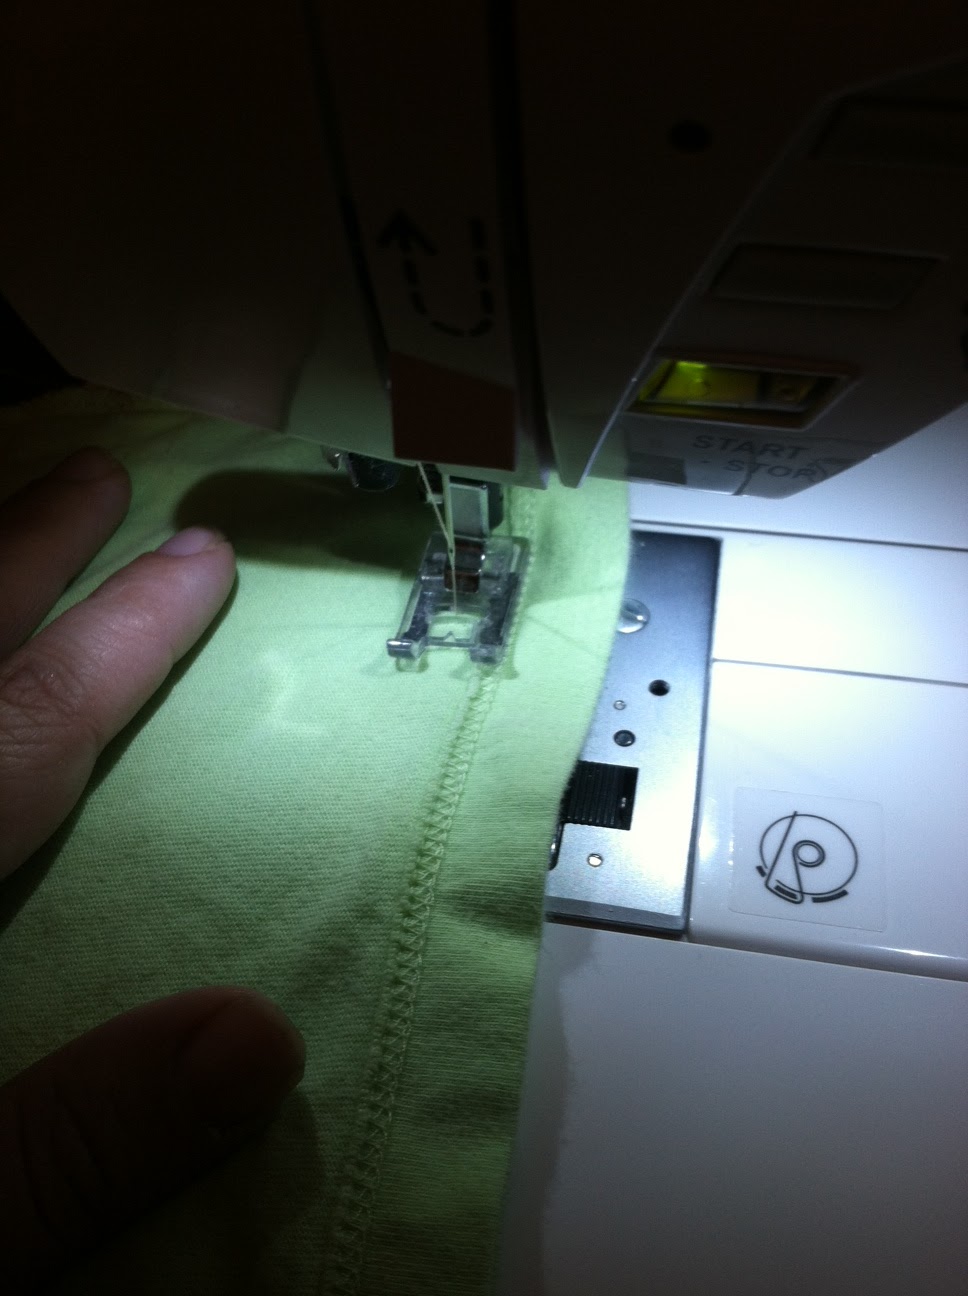
Cut the shirt sleeves off.  Then cut to scoop the neck down further.


Now turn your shirt inside out, and stitch up the bottom hemline to close the bottom of your tote.


Now turn your completed tote right sides out and fill it with whatever!
For a more durable bag, you can top stitch the bottom seam while the bag is right side out to have a stronger seam line.  You can also zig zag or serge around the handles to reinforce those if you choose.  I just kept this one simple.  Due to the nature of knit, the fabric will not unravel at the raw edges if you choose to leave them without additional stitching.  This is going to be a perfect library book tote for summer reading program!


TOTE TWO: A purse-like little tote


Once again, start out by laying out your shirt.


Cut off the sleeves, but leave the neckline in tact.  You will also need to cut the bottom of the shirt off to around a half inch longer than where you would like the bag to stop.


Save the sleeves, but you can throw out the bottom strip of the shirt or toss it into your scrap stack. (I tossed mine into the scrap stack to use for another adorable project)


Stitch up the shoulder part of your sleeves to close that end. Fold the hem end of the sleeve in half.


Turn your shirt inside out, then securely pin your folded sleeves into the shoulder of the tshirt.

Stitch the sleeves into the shoulder, making sure to stitch below the line of the sleeve hem.  Then stitch up the arm holes and bottom of the shirt.


Turn right side out, tie the sleeves into a cut knot, and fill with goodies!


At the end of the day, Laney was VERY excited that we had saved her shirts in a way that she could continue to use them....and I was VERY happy to be done with the t-shirt battle of 2013.

I hope you enjoy this project as much as we did!


Tuesday, March 5, 2013

Read Across America Week: Seussical Celebration

I love love love Dr. Seuss.  As most of you know, Saturday was his birthday.  That means that last week was Read Across America week.  Children all across America celebrated Dr. Seuss' birthday at school.  Since we have been working toward a more preschool style routine at our house during the day, I figured my munchkins would love to get in on the festivities.  I had so much fun with all of this that I just had to share some of it with you.  I'll skip the hard learning parts and just share the Seussical parts!


I picked a different book for each day of the week.  Monday, we read Horton Hears a Who.  Tuesday, we read Go Dog Go (yes, technically by P.D. Eastman, but the boy loves dogs). Wednesday, we read The Lorax. Thursday we read The Foot Book. Friday we read One Fish Two Fish Red Fish Blue Fish....AND....The Cat in the Hat (of course).

Here are two of the projects we did.  There were others, but we were having so much fun, I forgot pictures!

We started out by drawing a hat outline on red construction paper.  Next, we cut stripes from white paper and glued them in place.  Once the stripes were in place, we cut out the hat shape.  We then attached the hat shapes to the fronts of our paper plate rings.  (before we started, I cut the center circles out of red party plates)  This project was easy and fun.  The boy didn't take his off ALL...DAY...LONG!


The pictures just don't do this cutie justice.  I absolutely adore hand print projects.  The hand prints just add such a personal touch and make things such a keepsake.  I plan to hand these out to the grandparents as we do more and more of them.  Anyway...this was just as simple as orange pieces of construction paper and yellow, white, and brown paint.  I painted his hands yellow and helped him stamp them onto the paper.  Then we used his index fingers to make the eyebrows.  After that, I helped him use round foam brushes to stamp on the white and brown making the eyes and nose.  I think I had as much fun with this as he did.  When we finished, I let him just stamp to his little heart's content on another sheet of paper.

There were so many other fun things we did.  Maybe one day I will post the rest of the projects and activities along with any others I come across. 

Happy reading, everyone!


Wednesday, November 21, 2012

TP Tube Turkeys

These adorable little guys are a great, quick and easy way to add a little handmade charm to your Thanksgiving table.  You can even get the kids in on the action.

Here's what you need:
toilet paper tubes (enough for the number of children you have)
Construction paper or scrapbook paper in yellow, orange, and brown (or other desired colors)
Scissors
A pen
Sharpies to make the faces
Elmer's glue

Ok, so start out by tracing the hands of your little people or having them trace hands themselves if they are a little bit older. 

I have a little boy who is two and a little girl who is one, so I traced their hands for them....five points if you can accurately guess which is which....I know, right?


Go ahead and cut out the handprints or if they are old enough you can have them cut these out themselves.  I cut one handprint out of each color that I planned to use for the tail feathers.

Once you have all of the handprints cut out, arrange them in whatever order you want and fix them together with Elmer's glue.


Now you will affix the toilet paper tube to the front of the hands.  I will tell you....since our handprints were so tiny I chose to only use half of a tube per turkey, so you may want to decide whether to cut the tube in half or whether to leave it whole depending on the size of your handprints.  I also glued the part where the paper is glued to the tube down so that I didn't have to worry about any remaining pieces of toilet paper showing.


Now you are going to either let them draw their own faces with washable markers or draw faces on with Sharpies.  Since my little people are so little, I chose drawing the faces myself.  I just let them scribble their own little artwork while I did this.


Now just incorporate this into your table decor or put wherever you want to showcase your little one's "hand"-y-work. 


Did you do this with your munchkins?  Do you have another Thanksgiving TP craft to try?  Let me know about it.