Here's What You Need:
Play-doh in desired colors
Cookie cutters in desired shapes
Cutting mats
Rolling pins
Straw
Sheet Pan
Here's What You Do:
Start by letting the kids pick their play-doh out unless you have colors picked for them. Let them roll out the play dough until it is about 1/4 inch thick.
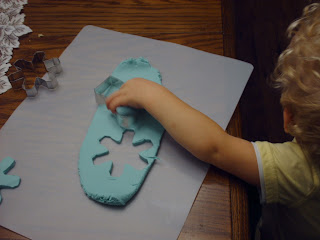
Then have them press the cookie cutters down into the dough to cut out the shapes they want or that you have selected.
Let them cut all the shapes they want out of the colors they chose.
Transfer all of the shapes onto a sheet pan, and use a straw to make a small hole where you will later hang the ornament from a ribbon or string.
Bake in a 200 degree preheated oven for 5 minutes. Touch the ornaments lightly to make sure they have gotten hard. If they are still rather soft to the touch, put them back in for a few more minutes.
As you can see, letting them roll out their own doh ended up with a few ornaments which were extra thick.
Let the ornaments cool on the pan completely before moving on to the next step. While the ornaments are cooling, cut the amount of lengths of ribbon or string that you will need. Once the ornaments have cooled completely, you will string the ribbon or string through the hole in the ornaments.
If you wanted to, you could paint the ornaments. We just chose to leave them the color that they were this time. Use a Sharpie marker to label the back of each ornament with the child's name and the year the ornament was made.
Tada! You just got a head start on Christmas and completed a great rainy day craft with your kiddos.
Did you and your kids do this project? Post pictures or let me know about it!


i heard the dough would melt if you bake it.
ReplyDeletei heard the dough would melt if you bake it.
ReplyDelete